If you read my last post and are interested in getting started with BOOM Digital Task Cards, read on. I’ll be going over the free vs. paid options and how to use the decks with your students.
Free Version
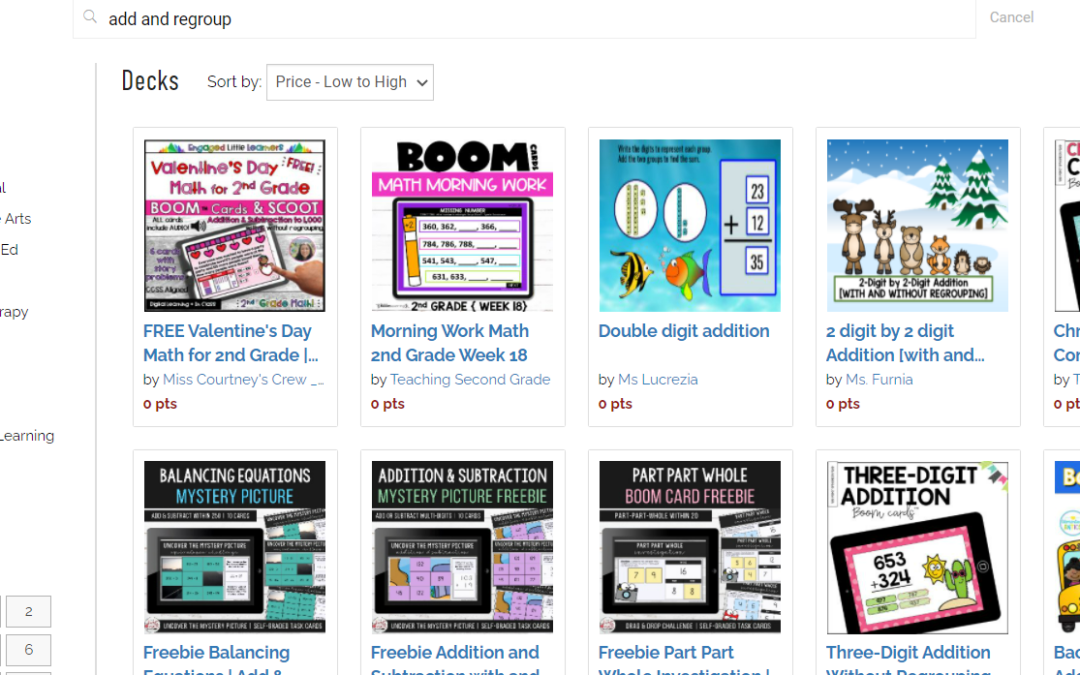
With a free version, you get 1 section (class) with five students. That’s obviously not enough for a classroom teacher but you can still assign decks to your entire class. The students just won’t have their own accounts and you won’t get any data. If you’re interested in assigning work but not collecting data, this version will be fine. You can find tons of free decks in the store link. Once in the store, you can search your topic and filter by subject and grade. You can also sort the decks. If you’re looking for a free deck, sort by price: low to high. This will show all the free decks first.
Once you click on a deck, there is a great feature that allows you the preview the first 4 cards in that deck. Make sure you watch the full-size preview to get the full effect. If you decide this deck will work well for your students, just click Add to Library.
With a free account, you can assign students a deck through a fast pin.
To assign a deck with a fast pin, go to your library and find the deck you want to assign. Next to the deck, click Action and Fast Pin.
You can also print your cards. I’ve used this feature and had one group working on their chromebooks independently while I took a small group of struggling students and used the cards. I then assigned the fast pin to the small group once they were comfortable with the concept.

Once you click Fast Pin, you will get this box. Click Generate Pin.

You will be given a temporary pin. What I love about the Fast Pin is you can just copy the link provided and add it to your Google Classroom or SeeSaw account as an assignment. Students just click that link and are taken directly to the assignment. Again, with the Fast Pin, you will not get any data or reports. Also, the pin only lasts 14 days. After that period, it is no longer active. You can always generate a new pin when the current one expires.

If you have a paid account, you can use the Assign link under the Action button to assign a deck to a student or group of students. Another great feature with the paid membership is the Hide Cards option. If there is a card in a deck that you find is not appropriate for your students, choose Hide Card. The paid option also allows you to collect data.. The students have their own accounts. You can create groups and assign different decks to different groups. You can learn more about all these features in the Help section of the BOOM learning site.
In my opinion, the biggest difference between free and paid memberships is the ability to collect data. With a paid membership (the most basic level is $15/year) you can set up accounts for up to 50 students. To me, that’s well worth the starter membership price.

As the membership levels go up, the number of students and classes you have also goes up. If you are creative and would like to make your own decks, you would need the $25/year option (the free and $15 options only allow you to make 5 decks). The higher packages also include Live Monitoring. This works just how it sounds. You can monitor your students as they are working in real time. If you notice any students getting consistent incorrect answers, you can pull them right then and there for extra support.
If you would like to sell BOOM Cards, you would need the $35 option.
For such a fantastic classroom or virtual tool, all the prices are quite reasonable.
Check out this YouTube channel for all things BOOM Learning.
